Introduction:

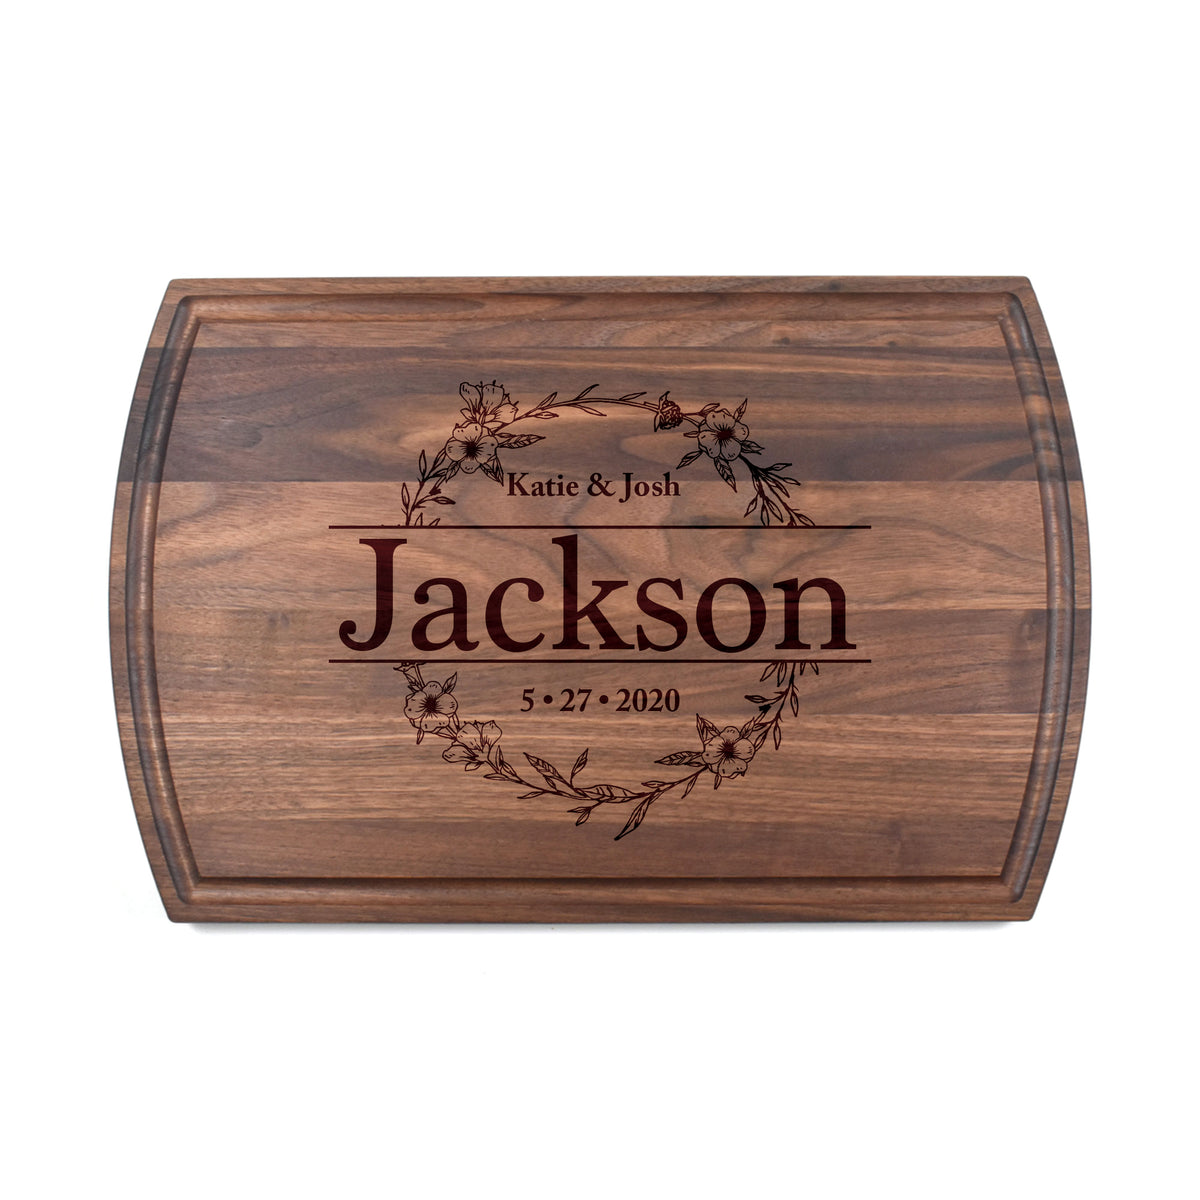
Wood cutting boards have become increasingly popular as functional and aesthetically pleasing kitchen accessories. Crafting your own wooden cutting board not only allows you to personalize a practical gift but also showcases your creativity and woodworking skills. In this guide, we will walk you through the step-by-step process of crafting your very own wood cutting board, while incorporating the use of a wood cutting saw. Let's dive in!
Step 1: Gather the Necessary Materials:
Before commencing the project, gather all the essential materials. You will need a high-quality hardwood, such as walnut or maple, a wood cutting saw, a measuring tape, sandpaper, wood glue, clamps, and food-safe mineral oil or beeswax for finishing.
Step 2: Determine the Dimensions:
Measure and decide on the desired dimensions for your cutting board. Consider both the cutting surface area and thickness. Typically, a standard cutting board ranges between 12-18 inches in length, 8-12 inches in width, and around 1-1.5 inches thick.
Step 3: Mark and Cut the Wood:
Using the measuring tape and a pencil, mark the dimensions on the wooden board. Secure the board firmly, and use a wood cutting saw to cut along the marked lines. Ensure a smooth and precise cut by maintaining a steady hand and adopting appropriate safety precautions.
Step 4: Sanding the Board:
Smooth out any rough surfaces or edges using sandpaper. Start with coarse-grit sandpaper and gradually move to finer grits to achieve a polished finish. Sand both the sides and edges, ensuring the board is smooth to touch.
Step 5: Design and Pattern:
Enhance the aesthetic appeal of your cutting board by incorporating various design elements. Personalize the board with unique patterns or inlays using a wood cutting saw. This step allows you to let your creativity shine and create a truly unique cutting board.
Step 6: Glue and Clamp:
Apply a generous amount of food-safe wood glue on the mating surfaces of the cut board pieces. Press them together firmly, ensuring proper alignment. To prevent any movement during the drying process, use clamps to hold the pieces tightly together. Allow the board to dry as per the glue manufacturer's instructions.
Step 7: Finishing Touches:
Once the glue has completely dried, remove the clamps and sand any excess glue residue. Apply a food-safe finish, such as mineral oil or beeswax, to protect the wood and enhance its natural beauty. Follow the product instructions for an even and durable finish.
Step 8: Seasoning the Cutting Board:
Before using the cutting board, it is essential to season it properly. To do so, apply a coat of food-safe oil to all exposed areas. Let it penetrate the wood for a few hours or overnight. Wipe away any excess oil to avoid a greasy surface.
Step 9: Maintenance and Care:
To ensure the longevity of your wooden cutting board, it is vital to provide proper maintenance. Regularly clean the board with mild soap and warm water, ensuring not to soak it for prolonged periods. Dry the board completely before storing it in a dry and well-ventilated area.
Step 10: Be Proud of Your Creation:
Congratulations! You have successfully crafted your very own wood cutting board. Gift it to your loved ones or use it with pride in your own kitchen. Remember, the beauty of a homemade cutting board lies not only in its practicality but also in the craftsmanship and effort invested in its creation.
Conclusion:
Crafting a wood cutting board is a rewarding and versatile woodworking project. Incorporating the use of a wood cutting saw adds an extra layer of precision and customization to the process. By following the steps outlined above, you can create a functional, durable, and visually appealing cutting board that is sure to impress both your loved ones and guests. Happy woodworking!
